Top Tips for Perfect Patchwork
As you begin these quilt block patterns, here are my top tips for better pieced results.
Slow down. Resist the temptation to stitch as fast as you can. You have more control at slower speeds. More control means less ripping.
Stitch an good 1/4" seam. Take the time to do a sewing test to check that your settings yield spot-on results. Click here to learn how to check your seam allowances with a quick sewing test.
Cut accurately. Make sure to cut exactly next to the ruler for accurately sized patches.
Starch your fabric. Yes, I know it's an extra step. But you cut, stitch and press all more accurately with starched fabrics. (Just remember to wash the starch out at the end of your project.)
Press as you go.
Practice. There is nothing like practice to build confidence. There is nothing better than feeling confident in your abilities.
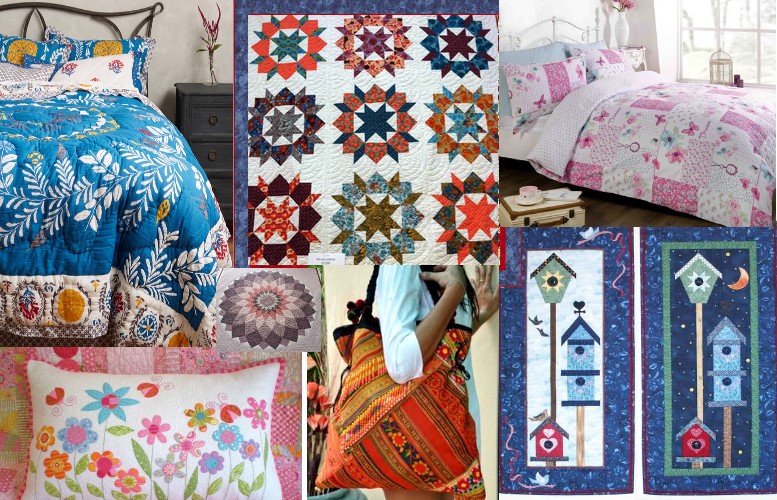
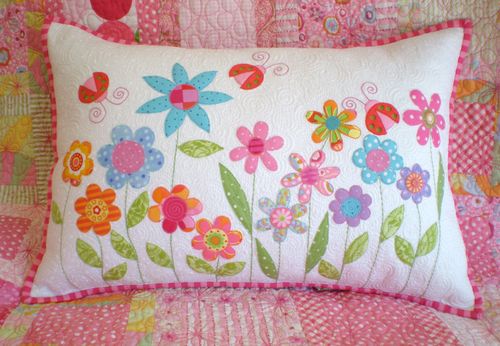
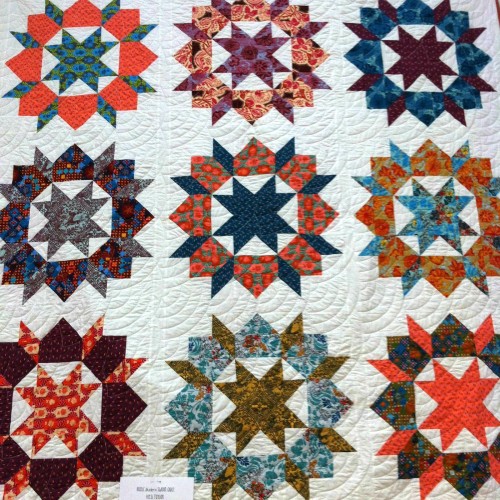
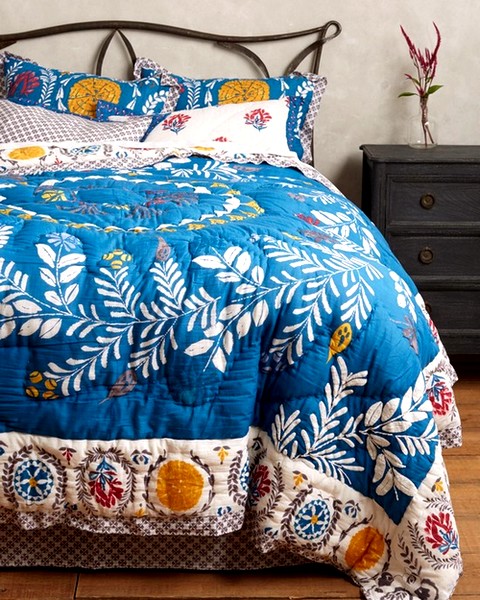
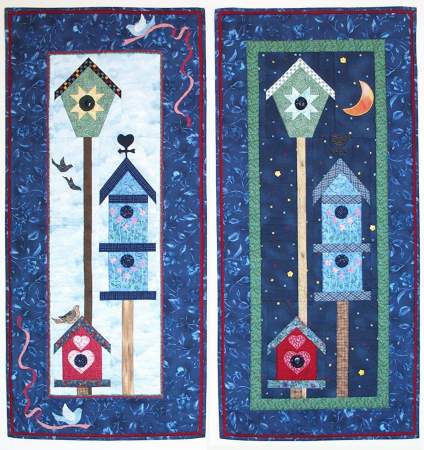
Before starting let's see same beautiful works for inspiration:
Let's get started!
The Building Blocks
Rail Fence Quilt Block

This easy quilt block pattern is simply strips of fabric sewn together into strip sets. These strip sets are, in turn, sub-cut into blocks. The technique for this block is used again for both four- and nine-patch quilt blocks.
Once you've mastered the sewing test for your seam allowance setting, you're ready for the Rail Fence!
The Techniques
#1: Strip Piecing
#2: Traditional Piecing
Half Square Triangle

Made from right angle or 90 degree triangles; the bias edge is the long one opposite the 90 degree angle. The two short edges are on the straight of grain.
These units can be pieced in a multitude of ways.
It also makes a good alternate block to reduce the total amount of piecing in your quilt designs.
The Techniques
#1: Sandwich or Quick Pieced
#2: Make one plus a bonus
#3: No mark, 4 at a time
#4: Fast and easy, 8 at a time
#5: Specialty rulers
#6: Triangle paper
Quarter Square Triangles

Another 90 degree right triangle, except this time the long edge opposite the right or 90 degree angle is on the straight of grain. The short edges are on the bias.
This block can be pieced with two, three or four fabrics for more versatility.
The Techniques
#1: Rotary Cut Patches
#2: Sandwich or Quick Piecing Method
#3: Quarter Square Triangle Ruler
#4: 3-Patch Quarter Square Triangles
Four Patches
A common unit within blocks or a block in its own right, the Four Patch adds directional movement to your quilt design.
A perfect block for beginners to hone their seam allowance accuracy on!
The Techniques
#1: Rotary cut patches
#2: Strip piecing
Nine Patches

Versatile for both scrappy and planned color placement, this block can be used on its own or alternated with others to form interesting chains through your quilt pattern.
The Techniques
#1: Strip Piecing & Rotary Cut Patches
#2: Two from 2 Squares: A Positive/A Negative
#3: You CAN Strip Piece a Single Nine Patch
Flying Geese

Used most often as units within a block or for sashing and borders, Flying Geese add movement to a patchwork design.
The Techniques
#1: Rotary cut patches
#2: Connector Corners
#3: No waste - four at a time
#4: 3D or One Seam
#5: Paper Piecing
#6: Specialty Rulers
Square in a Square

Whether its set edge to edge in a simple design layout or part of another design, the Square in a Square is a terrific place to show off a focus fabric or machine embroidery.
The Techniques
#1: Connector Corners
#2: Paper Piecing
Triangles in a Square

While not as common as the other units, this one shows up time and again within blocks. Used alternately with block with HSTs on their outside edge, it forms the optical illusion of curves.
The Techniques
#1: Paper Piecing
#2: Specialty Rulers
After you've mastered these quilt block patterns...you're ready for bigger challenges.
SOURCE: www.generations-quilt-patterns.com



Leave a Reply